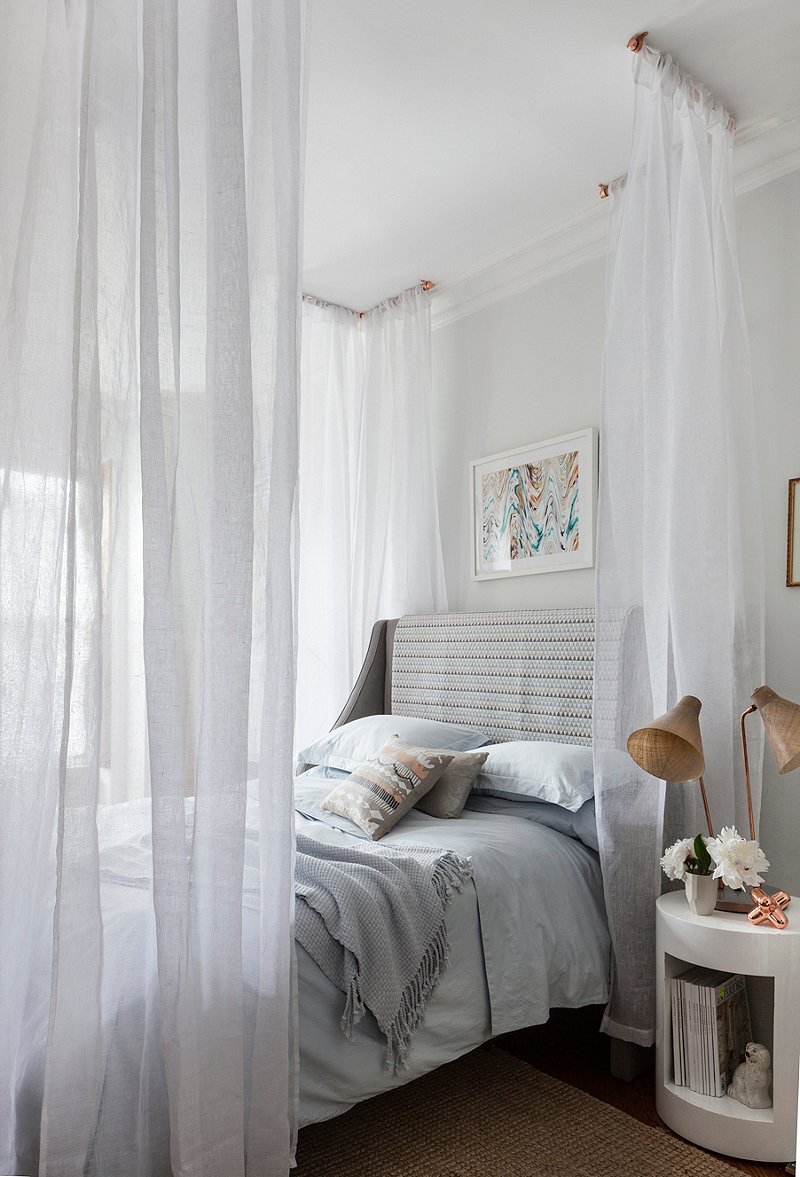
This simple DIY canopy is a quick and dramatic way to transform your bed into a serene sanctuary. With some simple hardware and a few extra long sheer curtains, the look can be yours in less than an afternoon. Keep reading for my step-by-step guide.

What You’ll Need
- Four 36″ x 3/4″ wooden dowels to be cut in half
- Twelve 1″ copper U-shape brackets (aka copper tube clips)
- Four 3/4″ copper elbows
- Four 3/4″ copper pressure tees
- Eight 3/4″ copper caps
- Eight premade drapes, long enough to almost touch the floor when hung from the ceiling
- Hand saw
- Gorilla Glue
- Screws and anchors appropriate to your ceiling type
Getting Started
Once you’ve gathered your materials, all of which can be found at your local hardware store, you’re ready to get to work. Begin by sawing all four of your 36″ wooden dowels in half to create eight 18″ dowels. This may sound intimidating, but it’s actually very easy.

Assemble
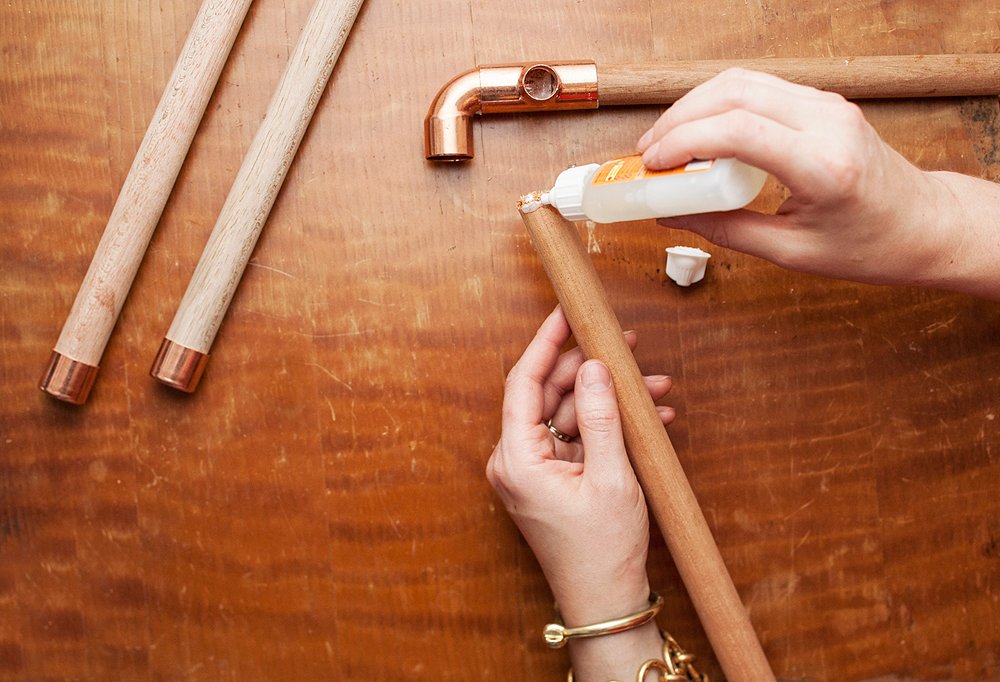
Next, use Gorilla Glue to affix a copper cap to one end of each cut dowel. Then glue the uncapped end of the dowel into the larger end of the copper elbow. Because the other side of the copper elbow is too small to fit the dowel, I glued a pressure tee to the small end of the copper elbow. To finish up, glue the second dowel into the open end of the copper pressure tee. Repeat the processes for all four L-shape canopy corners. Make sure to point the unused portion of each pressure tee downward so that it’s hidden in the channel of the drapes.
Tip: Gorilla Glue expands ALOT, so use it sparingly. A small dab goes a long way!

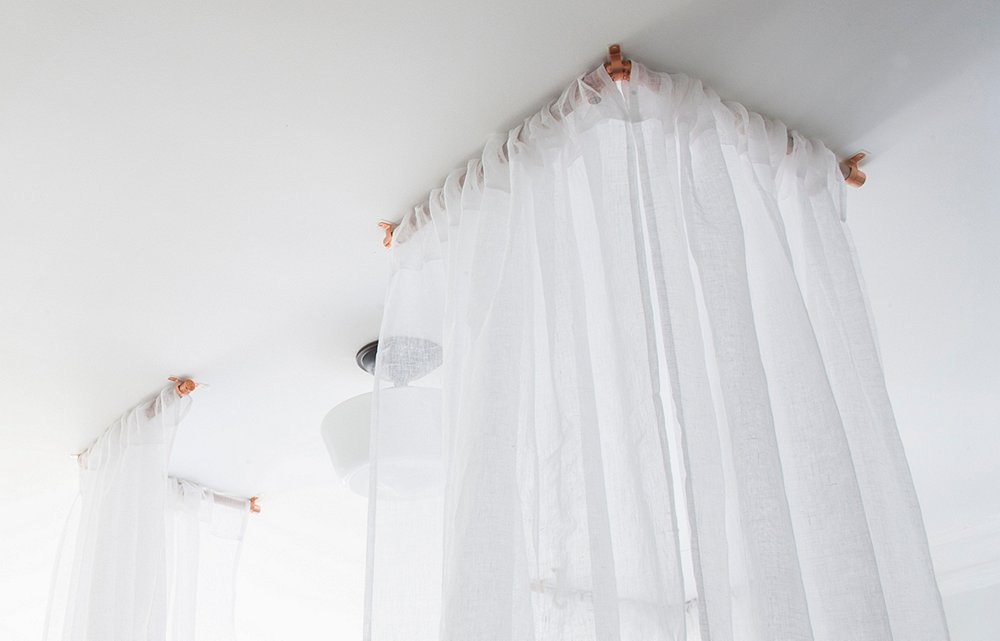
Once your glue is dry, you’re ready to start hanging the canopy. It’s a good idea to work with a buddy (and a ladder) for this part. Begin by feeding one curtain panel onto each side of your wooden L-pieces. Then position the assembled corner in place on the ceiling, marking the position of the hardware with a pencil. To attach it to the ceiling, use three of the U-shape brackets and screws. One of the U-shape brackets should be positioned at the corner of the copper elbow, and the other two on each of the ends near the copper caps. Repeat this process for each of the four corners of the bed.
Tip: Be sure that your screws are rated to hold the weight of your drapes. I used super lightweight sheers and ribbed plastic anchors. If you’re going to hang heavier drapes, I recommend using a toggle bolt.

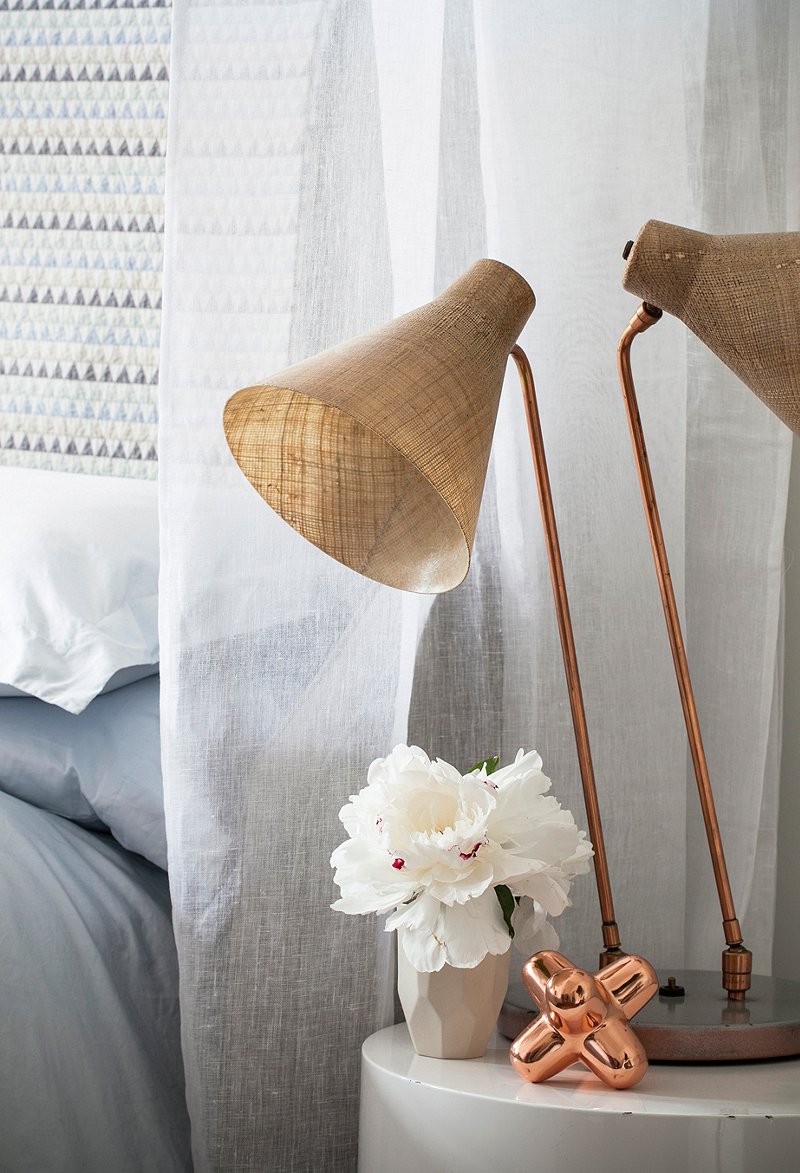
To finish the look I added a few copper accents to the bedside table to accentuate the copper hardware of my canopy. Now you’re ready to curl up and take a nap in your new canopy cocoon.
Original article and pictures take blog.onekingslane.com site
Комментариев нет:
Отправить комментарий