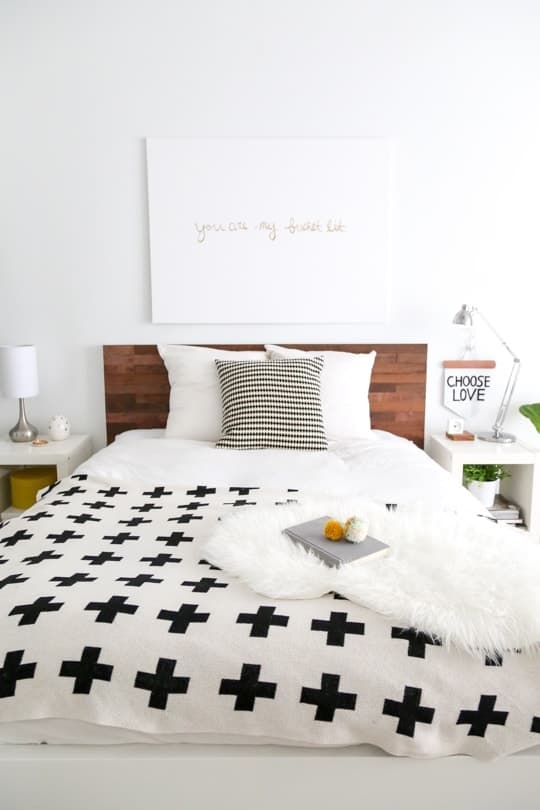
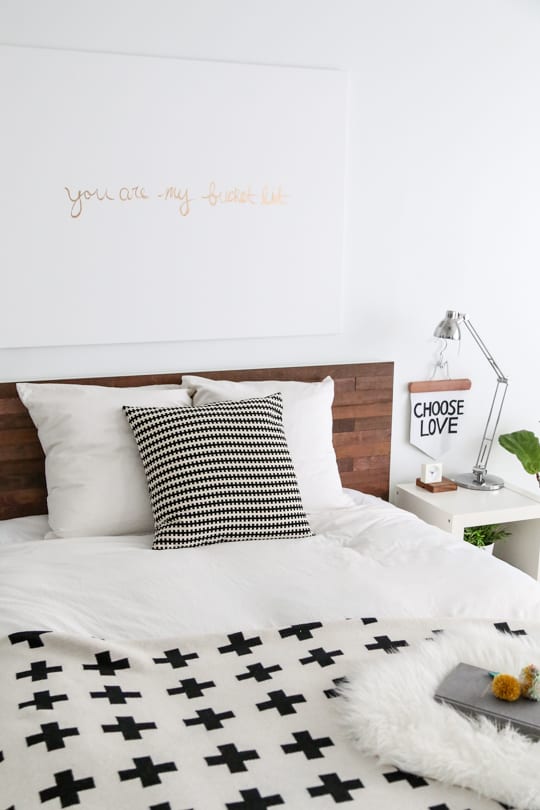
You know I’m always down for a good Ikea hack, especially when it involves adhesive wood and no dry wall screws. Granted, you may have to saw a few things but if you have a handy spouse, parent, friend, or a remotely friendly neighbor with some tools, you’ll be fine!
Now let me introduce you to the glory that is Stikwood. It’s reclaimed wood that’s already finished and with adhesive backing on it, which is perfect for those of us that aren’t exactly woodworkers (like myself), but still want the reclaimed wood look. My mind is pretty much swimming with things to stick this genius invention on, but for now I’ll just share my DIY Ikea hack headboard to not get too crazed on you right away.
Materials
One case of Stikwood (mine is the Reclaimed Barrel Oak, I only used just over 10 sq. ft) *c/o
Ikea Malm bedframe (from the Ikea As-is section for $90)
Measuring tape
Pen
Clear, matte polyurethane (you can by it for indoor use if constructing inside)
Black sharpie (optional for style)
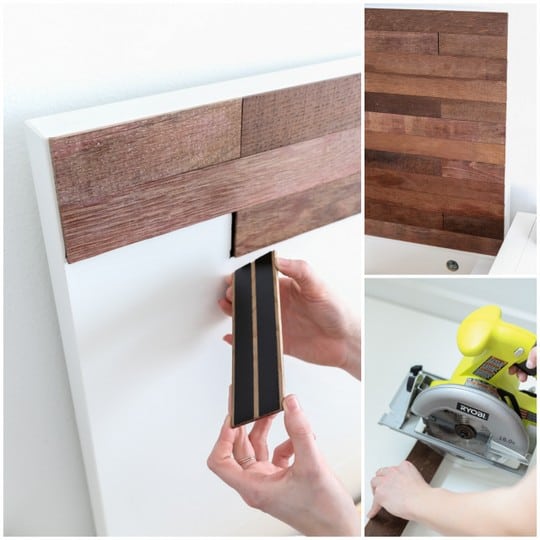
Depending on the width and length of the Stikwood you choose, you’ll measure the individual pieces to be the same width as the Malm headboard (66 1/8 “) for each row and mark with a pen on the back of the piece of wood. In this instance, I left two pieces of Stikwood the original length for every row, and cut one smaller piece (4 1/4 “) and alternated the placement of the small piece so vary every row would be different, then peeled the backing off and pressed them firmly on the face of the headboard.
Because the Stikwood is made from real reclaimed wood, not all of the pieces fit quite the same. The best way to make sure everything lines up correctly is to test each row before peeling the adhesive backing off of the wood and placing it. You can always lightly sand rough parts of the wood to make sure pillows won’t snag the surface if need be.
The sharpie comes in handy if you’d like to have a more dimensional look by not making every single piece fit flush against each other. You can use the sharpie to color in a little line (as seen in the large tutorial photo) and then leave a small gap in between the two pieces.
Once the entire headboard is covered , spray the polyurethane over the entire surface and let dry. This will keep the color of the wood from rubbing off onto pillows, and then you’re all set!
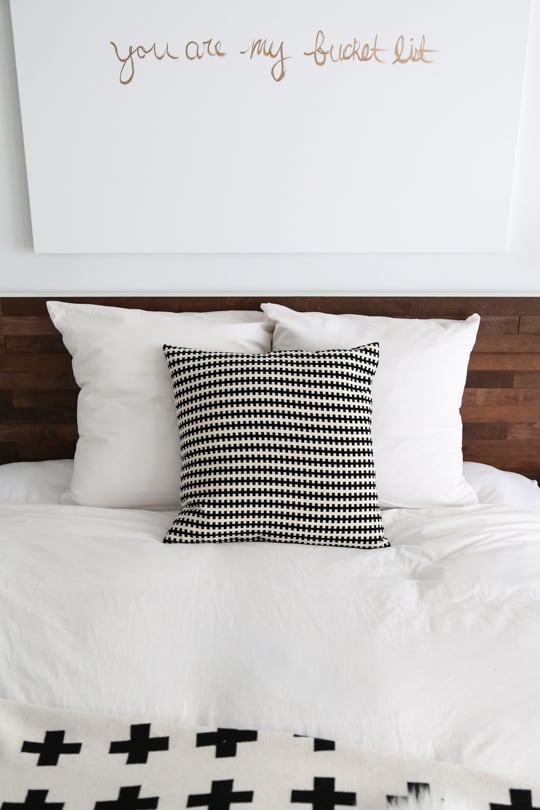
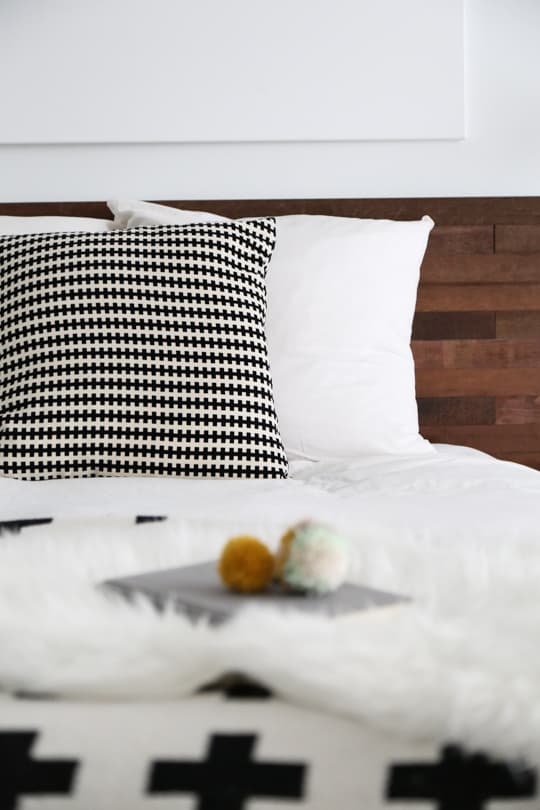
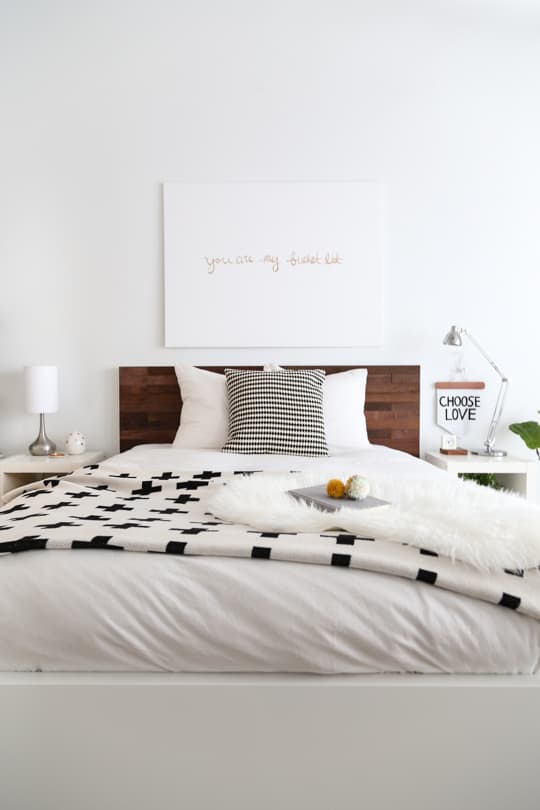
I absolutely love the finished product. I thought I might miss my all white bed frame, but it really makes it much more cozy. Especially when I add in my white shag and favorite blanket. Now I just have to resist the urge to put it on everything!
What out of the box place would you use Stikwood for a DIY?
Original article and pictures take sugarandcloth.com site
Комментариев нет:
Отправить комментарий